3D PrinteD Mini-Projects:
1. Auto Bed-LEVELING on my 3d printer:
A 3D printer constructs object layer by layer, on to a build plate. In order for the first layer of an object to not come off build plate and provide a good foundation, the surface of the build plate has to be completely flat in relation to the other axes of the printer.
This is difficult to dial in by hand, so sensors are available for the printer to measure the height of the build plate in a grid, then compensate for unevenness by moving the build plate up and down as it moves. I printed this modification to attach such a sensor to my printer.
This was a two part modification. The first part I 3D printed was a new filament drive for the 3D printer, which had a mounting point for the sensor. I also had to print a new version of the belt clamp, which offset the extruder mechanism a few milimeters, thus making space for the sensor when the x axis moved all the way to its home position.
In order for the sensor to work I also had to make some modifications to the firmware that the printer was running, so that it would take the measurements of the build plate at the beginning of each print.
If you want to replicate a similar modification, you can see instructions and the print files here: https://www.thingiverse.com/thing:4521274


2. Fan mounts for the valve index VR headset:
A VR headset incorporates a screen, several cameras, processors, inertial measurement units, and other sensors. All of these electronics sit close to the user’s face, and generate a significant amount of heat. I found that this made the headset uncomfortable to use for extended periods. I fixed this by printing a custom front plate for my Valve Index VR headset that incorporated two cooling fans on the front. Power for the fans was supplied by the USB port build into the headset.


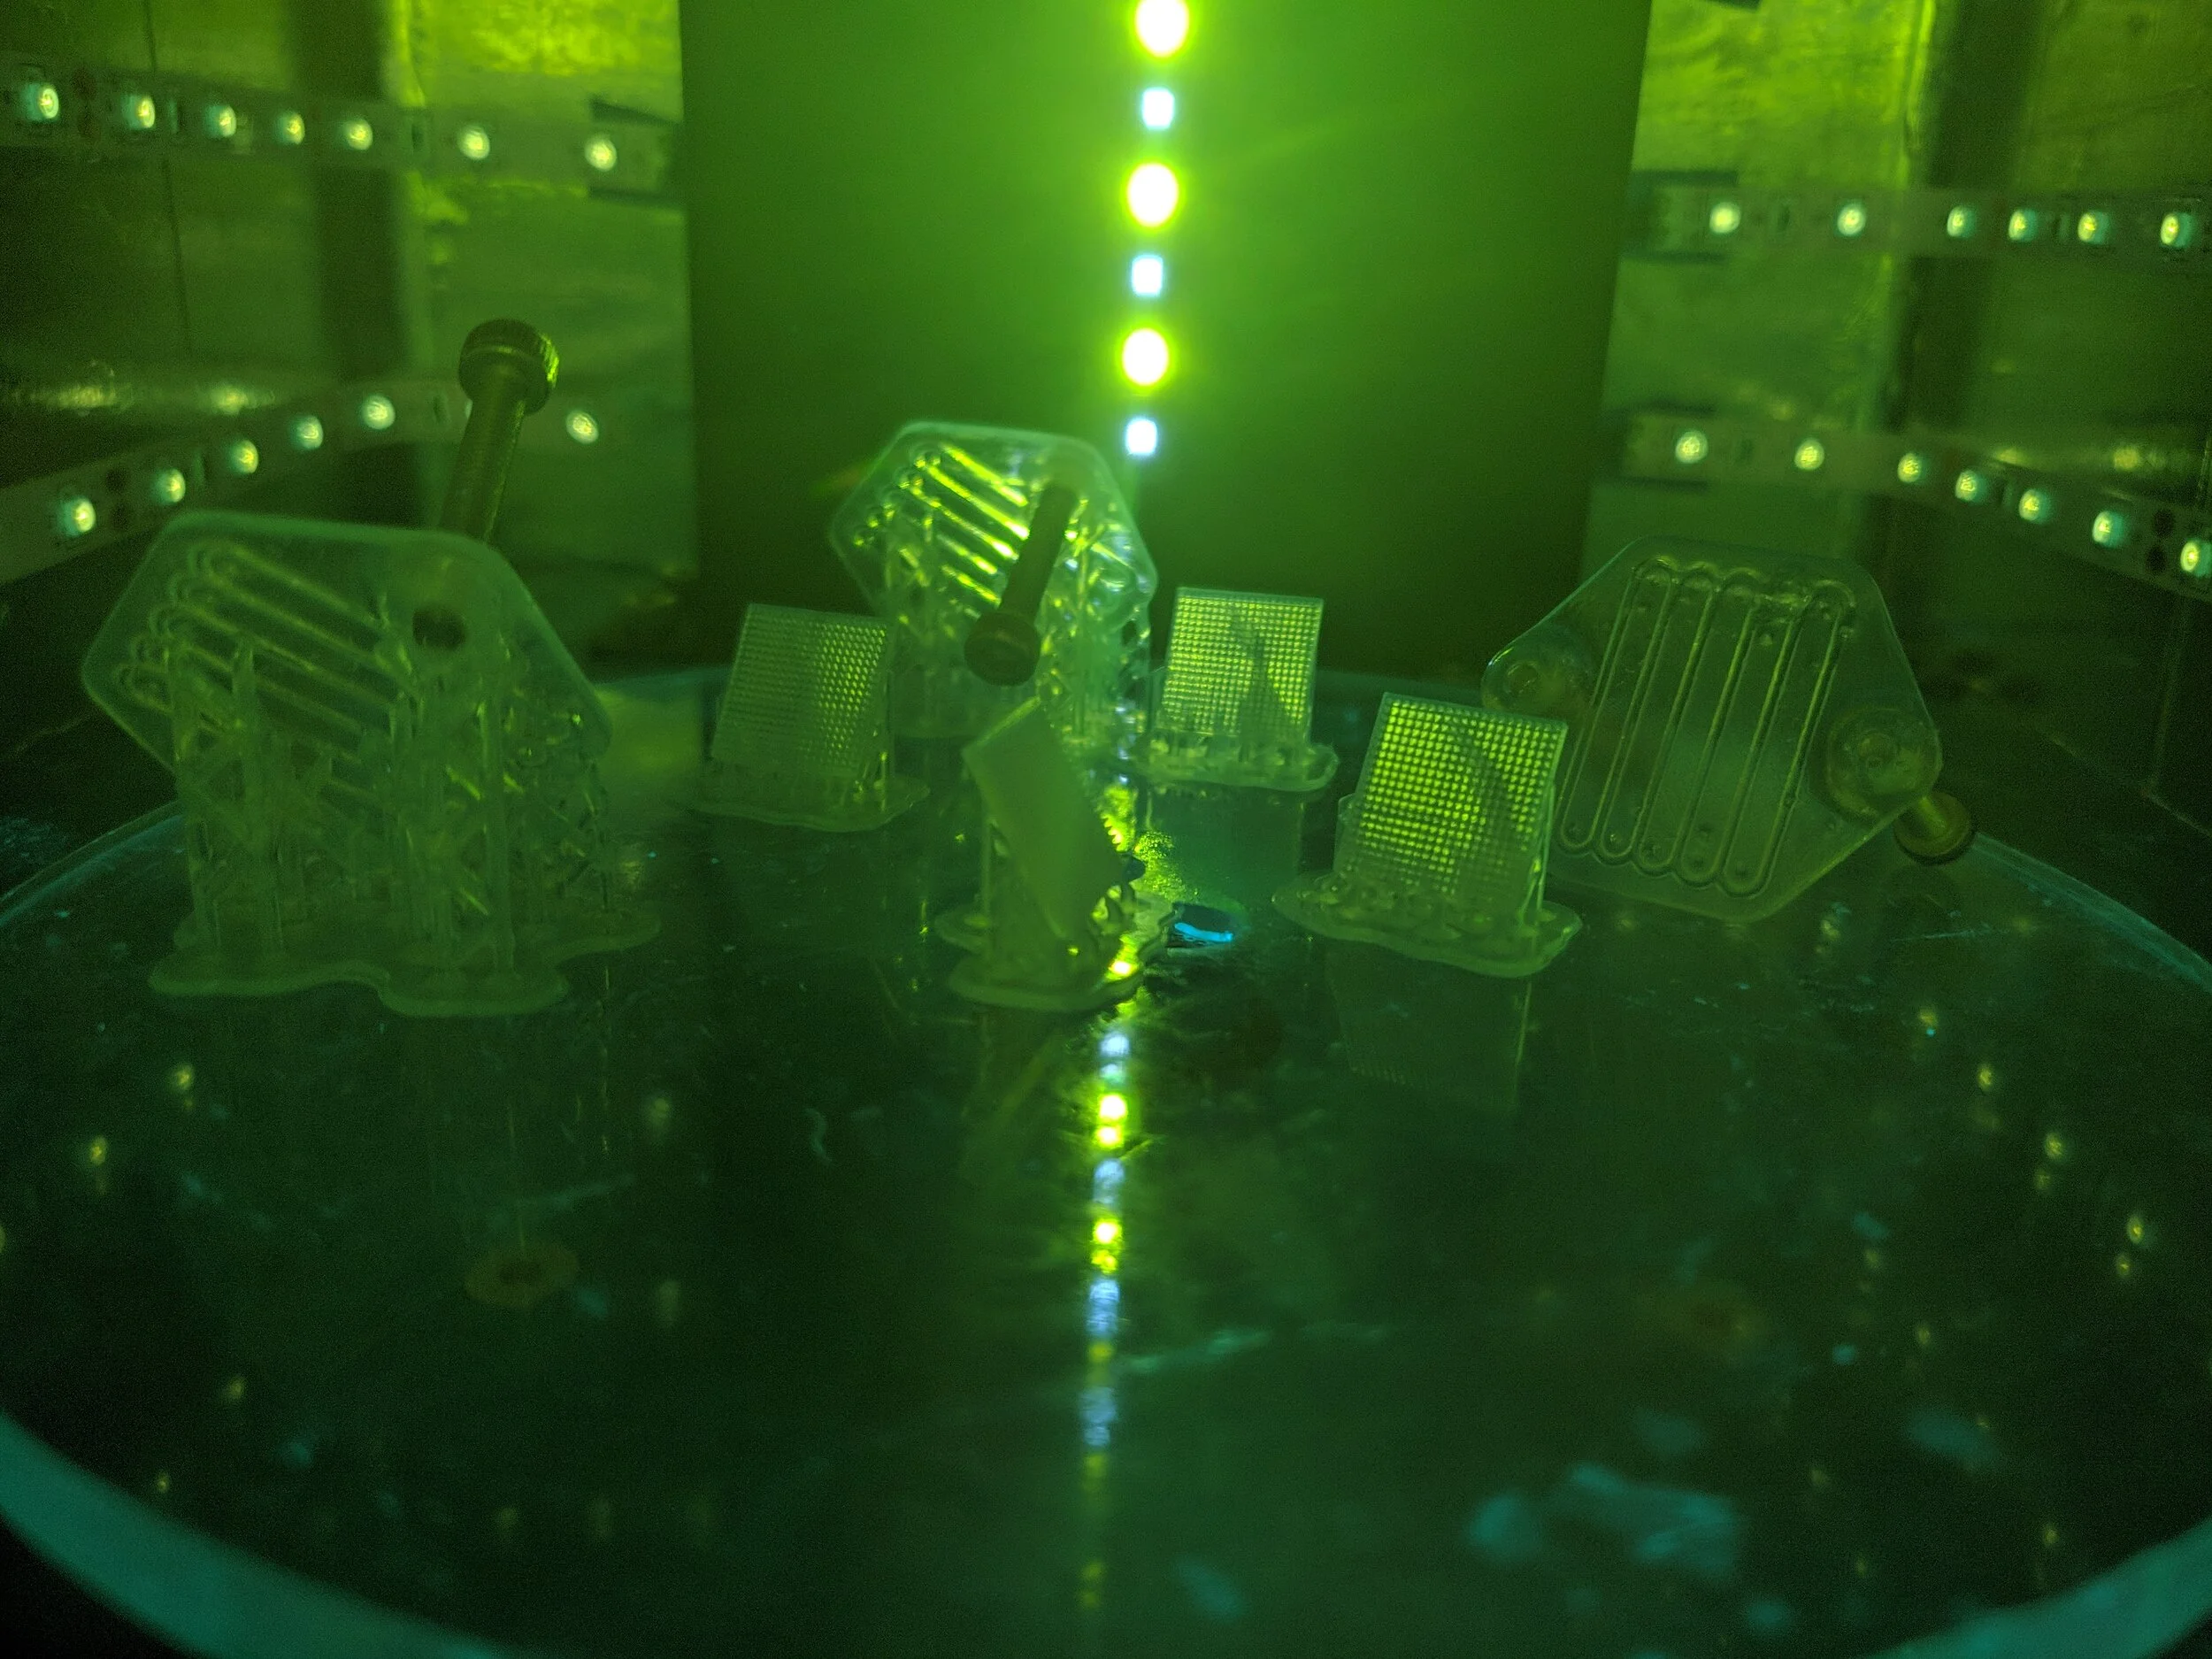
3. UV Cure CHAMBER:
Parts that are printed using stereolithography (SLA) involve a lot of post-processing. They are printed by selectively curing a liquid resin using ultraviolet light. However, they are not fully cured when they come out of the printer, because the printer limits how long they are exposed to UV light to prevent the light from curing the resin where it is not supposed to.
This means that the parts have to be taken out of the printer, the excess resin has to be washed off, and the final curing has to be done separately. I got a wash+cure machine to do these last two steps, however its UV cure power was underwhelming. It had only one strip of LEDs, meaning the light was not dispersed evenly throughout the chamber. To solve this, I covered the inside of the curing chamber with reflective aluminum tape, and also added another UV LED strip wrapping all around the inside.


4. Camera Re-Shell
On one of my drone flights, the onboard Runcam 5 camera that records flight footage cracked due to a rough landing. Luckily, the lenses and electronics survived unscathed, but the shell was almost split in half. So, I reverse-engineered the shell and printed it in resin.


The build:
I initially tried to print it in semi-flexible resin, hoping that it would make it more impact-resistant. However, things didn’t fit well in the flex resin, because it got a little warped and was too squishy.


